


One of the skills for the homeowners is to install a switch. It might seem easy just that you can ensure being installed properly in order to avoid problems as well as safety hazards. In this step-by-step guide for wiring a light switch, we have outlined a process for you in a concise format with the main aim of only focusing on safety and functionality.
Table of Contents
Step 1: Gather the tools and materials
Before you proceed, a number of tools and a set of equipment would be needed while on this particular project. Beforehand, make sure that you have all the tools and materials ready to use as listed below;
- Screwdrivers (flat head and Phillips)
- Wire stripping/cutting tool
- Voltage tester
- Electrical tape
- Light switch (single pole or double pole; it must correspond to your requirements)
- Wires (usually color coded as black, white, green, or bare copper)
Step 2: Safely Turn Off the Power
For safety purposes, turn off power to the corresponding circuit at the breaker or fuse box. First, test the switch with a voltage tester. Determine that there is no current going to the switch.
Step 3: Remove the Existing Switch
If you are replacing a switch;
- Carefully remove the switch cover plate.
- Take a picture to capture how it was fitted for reference when fitting back the new one.
Step 4: Caution
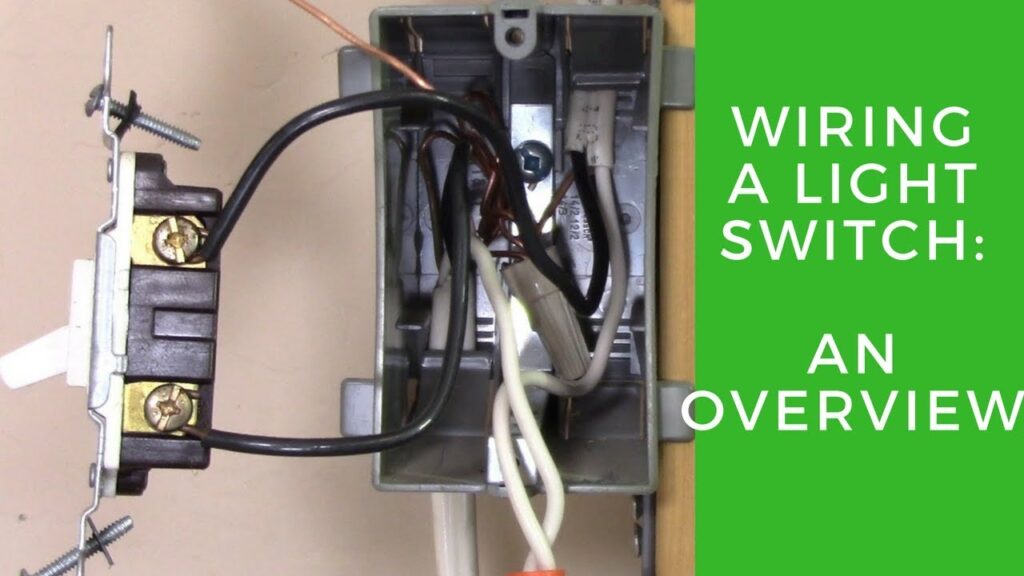
The switch has three wires;
- The Hot Wire (Black or Red): This is a wire which carries the current from the circuit breaker.
- The Neutral Wire (White): It acts as the path back to where electricity comes from.
- The Ground Wire (Green or Bare Copper): This is a very important wire in terms of safety.
- Connects onto the grounding system.
Step 5: Detaching and Preparing the Wires
- Disconnect the wires safely off the switch.
- Use a wire stripper to remove 3/4 inch of insulation from the ends of the wires.
Step 6: Connect the New Switch
Wire up the new switch:
- Take the hot wire (red or black) and attach it to the screw terminal, then tighten.
- Connect the neutral wire (white) to the silver screw terminal.
- Now join the ground wire (green or copper) to the green screw terminal. If there isn’t one, just connect it to a bare copper wire inside the electrical box. Ensure everything is tight.
- Attach the Switch to the Electrical Box
- Put in The Switch Plate Cover
Step 7: Restore Power and Test
- Turn on power from your circuit breaker or fuse box.
- Give it a couple of flicks to check if it works right.
Step 8: Final Checks
- Move any loose wires so they’re secure.
- Double check around for visible wires sticking out.
- The plate should hide everything about this switch when you look at it.
Safety Precautions
- Safety first always, turn off the power before doing work on anything electric.
- Use proper tools for this job as well as materials
If you’re concerned or have doubts in your head, asking a licensed electrician will always be better option as well. They’ll be able to give your personal advice tailored to your situation and make it easier for you to understand what’s going on.
Wiring a light switch is simple as long as you follow the safety precautions and steps outlined above. Even if you know what you’re doing, don’t be afraid to ask them for help! Safely is always more important than anything when working with electricity.