


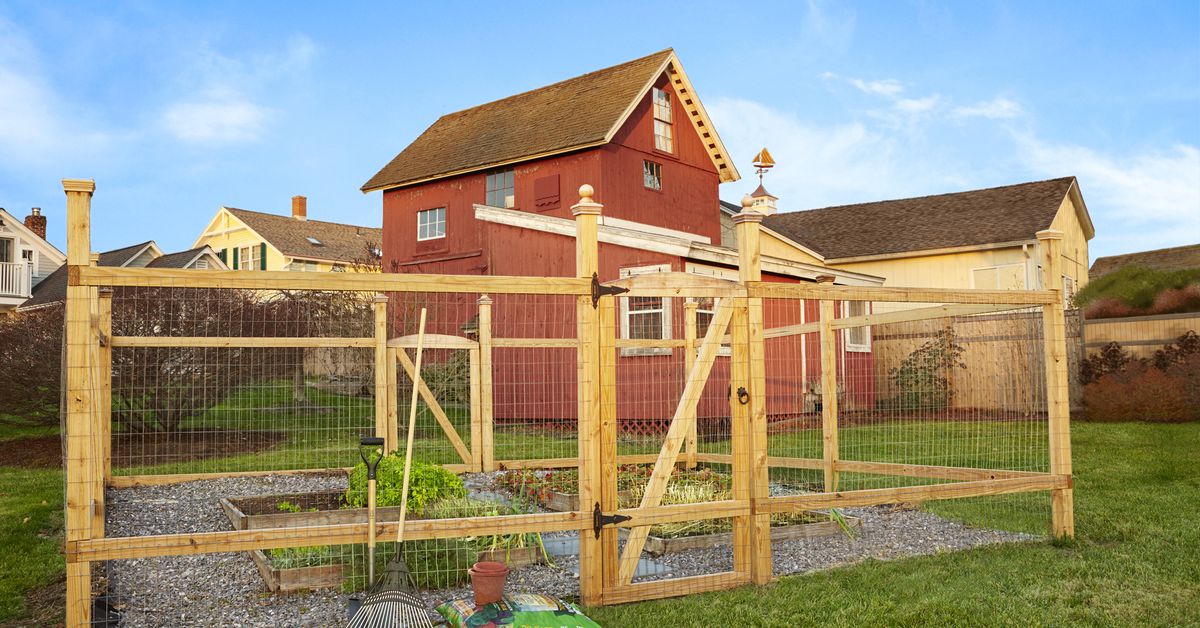
Installing a garden fence can provide a great level of privacy and security for your home, and luckily, it’s a task that any DIYer with a bit of time on their hands can complete over a weekend.
Building it yourself and sourcing your materials will save you money.
This guide will help teach you how to build a garden fence quickly and effectively. If you ever find yourself needing professional help, make sure to get in touch with Illinois Fence Company.
Read on to find out how.
Table of Contents
Sourcing Tools & Materials
The first course of action is to source what you will need. This will help you gauge how much you’re expected to spend before committing to it.
Some items help make your life easier; others are completely essential. If you’re a frequent DIYer, you may already have some items. Otherwise, here’s a quick checklist of key tools and materials you will need to get:
- Fence posts
- Fence panels
- String
- Tape measure
- Spirit level
- Saw
- Protective gear
- Drill
- Screws
- Quick setting concrete post mix
- Gravel
- Spade
- Anti-rot paint/solution
It would help if you spent a lot of time sourcing which style of fence panels you want. Make sure it also blends nicely with the fence posts you will use.
Now that you have made sure you have all the equipment needed, you can begin to get to work.
Calculating Lengths
Once you have sourced what fence posts you will use, you can begin doing some calculations.
Measuring out a fence involves determining the length and location of each fence post, as well as how long the panels are going to be.
Start by measuring the overall height and length of your fence posts and panels. Then measure the perimeter of where you want the fence installed – keep it 100% straight by using string, tape or laser measurers.
Then, determine the location of each fence post. Fence posts should be a minimum of 100x100mm section and concreted into the ground at a depth of around 600mm, and the distance between each post should not exceed around 3 metres (10ft).
After gauging the space between each fence post, you can now measure the length of the fence panels and start shopping. The length between the posts should be less than the length of the panels to allow for some wiggle room.
Measure the length of the fence posts and how much surface it covers above ground so you can gauge the height of the fence panels. This will tell you how many fence posts need to be buried underground and how tall the fences will be.
That’s it for measurements, be sure to mark all fence post locations and double-check everything before you start digging, cutting, or ordering materials.
Prepare Your Garden
Before you can get to work, it’s vital that you prepare your garden in whatever way is necessary. A healthy, firm setting will help prevent your fencing from rotting more quickly than it needs to.
It helps to clear away all vegetation and treat the area with weed killer. The composite fence panels will most likely be pre-treated with anti-rot and insect formula, but it is always a safe bet to go the extra mile to avoid it.
Use string to mark where the fence is going and clear out the entire area around it to ensure you are well-prepared for your new fence.
Clearing away any debris, toys, or obstacles will also make your life a lot easier – plus, you will need the space.
Please have all your tools easily accessible and ready for when you need them; the easier they are to get a hold of, the quicker the job gets done.
Fixing Your Fence Posts
It’s time to get your hands dirty.
Be careful spiking anything into the ground. Fence posts are notorious for finding underground cables and water pipes, so always double-check the area you will be digging into.
The holes for your posts should be three times the size of the post itself, and the holes should always be around 600mm in depth.
Once you have your hole, place the post into the hole and make sure the post is plumb (completely straight) by using a spirit level. Ensure there is a small amount of gravel near the base of the hole to help drainage.
After that, mix and pour in your concrete to secure the fence post and leave it to stand for around 24 hours. Once the concrete is set, you can refill the hole with soil and tamp it down to secure the post.
Fixing Your Fence Panels
Once all your posts are secure, you can begin installing the panels. At this point, you should triple-check that your panels will fit properly.
Place the panels in position between the posts, ensuring that it sits aligned and plumb with the height of the posts.
Secure the panels with nails or screws using a drill and fasten appropriately using at least two fasteners per post.
If using screws, it can help to pre-drill holes before attaching the panel, and this will make the process much easier to deal with.
Ensure the fence is perfectly aligned and has no sagging or bowing; adjust the panels if needed.
Rinse and repeat for each panel with careful attention to consistency and level.
In Summary
Once done, a completed garden fence provides you with efficient privacy and security. It is worth noting that fencing requires frequent attention and upkeep to prevent rot and insect attacks, so be sure to pay attention to it all year round.
Many more tips, tricks, and helpful pointers are not discussed within this guide, so be sure to do your research and take risks. Good luck!