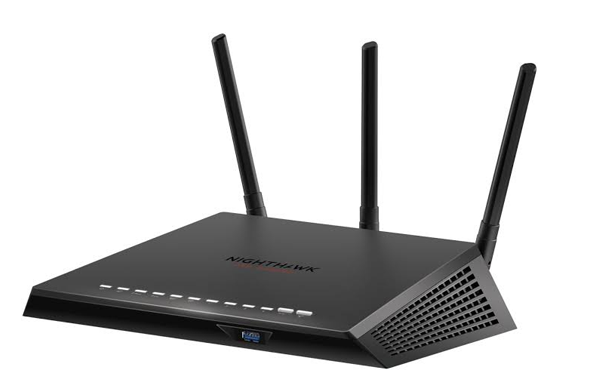
By default, the Nighthawk WiFi router comes with a network name and password to log into its web user interface when nighthawk router not working. By using these details, users can set up and configure their WiFi router and access netgear nighthawk login page without any difficulty. However, anyone who is within the range of your router can easily find out your login credentials. Once they get to know your default details, they can change your device’s settings and even prevent you from accessing your own WiFi network.
Therefore, it’s always recommended to change netgear nighthawk login password and SSID from the default details to something else. Don’t know how to do so? Well, fret not as we are here to guide you step by step to get the job done. Allow us to explain to you in brief.
Change Nighthawk Router Login Password and SSID
Step-1: Know the IP Address of Router
Nighthawk routers have the default web user interface, i.e. routerlogin.net. In order to access this, you will need to type the default IP address in URL bar of an Internet browser.
So, the question arises here is how do you find IP address of your device. In case you own a Windows PC, use Command Prompt to know this information. All you have to do is press Windows + R key combination, type cmd and press Enter.
Next, type the configuration command and hit Enter. Once done, you will see that a lot of new lines will be added to that command prompt. The address of your gadget will be shown in the Default Gateway section.
On the other hand, if you are using MAC OS X, go to System Preferences option. After that, hit Network symbol and choose your wired Ethernet or wireless connection. Under TCP/IP section, look for your device’s IP address.
Step-2: Access Routerlogin.net Setup Wizard
The next step is to launch your favorite browser, type IP address you found in step 1, and then press Enter.
Note: Users should utilize their computer to open a web browser as many APs don’t come with a mobile-optimized web interface.
Once done, you will be presented by the Nighthawk router login page. It requires you to enter username and password to log in. You can find the default credentials in manual. Some users also opt for hit and trial method if they are unsure what these details are.
In case you have ever changed these details, the default ones will no longer work for you.
And if you have forgotten the credentials, you have to reset your router to its factory default settings.
Step-3: Change Nighthawk Router Password and SSID
As soon as you log in to your Nighthawk router, search for WiFi settings. On the basis of make and model number of your device, these may present on the dashboard or deeply buried in another section like Wireless. For example, if you own a Nighthawk AC1900 router, you will find the WiFi Settings on the dashboard.
After that, navigate to Network Name or SSID setting and change it as per your choice. To change Nighthawk router password, go to Wireless Key or similar section. Different models of APs make use of different types of names.
It’s advised to users to create a fairly long password or make use of a phrase rather than a single word. Also, keep in mind to enable the secure encryption method to prevent intruders from entering your network.
Once you are done with the changes in Nighthawk router SSID and password, click on the Apply button to save the changes. In case you have made a wireless connection with your router’s web user interface, all your gadgets will get disconnected as your AP turns off its old WiFi network and creates a new one.
After customizing router settings as per your own preferences, you have to reconnect all your WiFi-capable gadgets to the new network along with a new password.
Thus, you can easily change Nighthawk router password and SSID.

