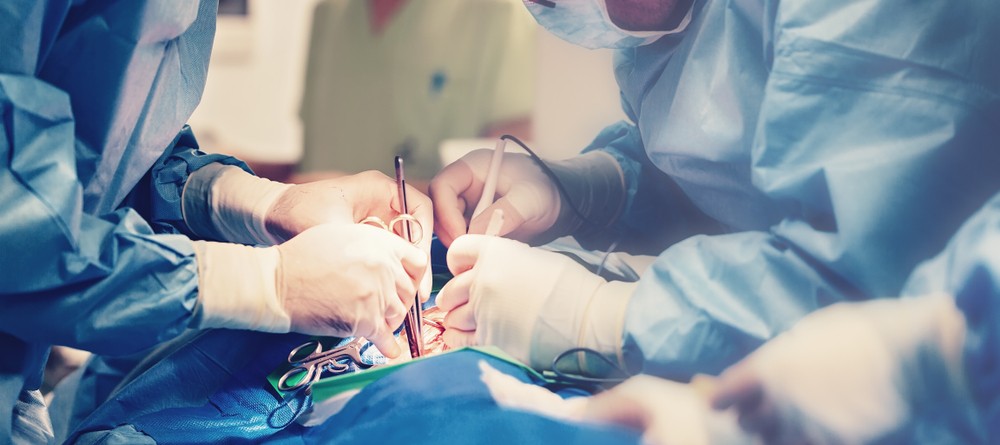
If you properly handle and care for your multipurpose and single use surgical instruments, they will have a longer lifespan and perform more effectively. Choose a way to clean that works for your situation.
Table of Contents
Cleaning Techniques
After use, run warm or cold water over instruments to remove blood, fluids, and tissue. Dirty instruments can be difficult to clean and may be damaged. Avoid using hot water on protein-based foods. In cleaning, temperature, agitation, and time play a role.
- Cleaning chemicals’ efficacy is often time-dependent.
- In general, cleaners perform better when they are heated up to a higher temperature.
- When it comes to freeing dirt from the instrument’s surface, agitation is an effective tool, whether it be manual or ultrasonic.
Cleaning With Ultrasonic Technology
Ultrasonic cleaning works best. Cavitation drives ultrasonic cleaning. Sound waves create micron-sized bubbles in solution that expand with pressure. As the bubbles collapse, even in tiny gaps, dirt and debris are dislodged. Using ultrasonic detergent instead of water increases the cavitation rate.
- Follow the instructions given by the manufacturer when mixing enzymatic or another detergent with a pH of 7 or higher.
- Deionized water is preferable but not required.
- De-gas the solution for a few minutes before using the ultrasonic cleaner.
- In the ultrasonic cleaner, place the instrument in an open spot. Instruments having blades should not be allowed to come into contact with one another or any other instrument. Submerge all instruments completely.
- No different metals (e.g., chrome-plated or stainless steel) should be cleaned at once.
- Instruments should be cleaned for 5 to 10 minutes with a cleanser.
- Rinse the surgical instruments with water to eliminate the ultrasonic cleaning fluid and any leftover dirt.
- Use a clean towel to completely dry the instruments. Corrosion and water spot development are reduced as a result.
- Improve the instrument’s performance by spraying oil into the instrument’s hinges.
Sterilisers For Automatic Washers
Follow the instructions provided by the manufacturer. After the last wash and before sterilisation, lubricate the equipment.
How Cleaning Works
- Make use of cleaning tools made of rigid plastic. Steel wool and wire brushes are not recommended for cleaning.
- Use pH-neutral detergents. Low-pH detergents can stain stainless steel. High pH detergents can stain instruments, reducing their efficacy.
- Handle sensitive instruments aside from other instruments if at all feasible.
- Inspect all instrument surfaces for stains and tissue. Ensure all equipment works. Open scissors should have tight blades. Position the forceps properly. The hemostats’ jaws shouldn’t let light in and the joints shouldn’t be loose. Check the needle holder jaws for wear. Clean and inspect any cutting blades you use.
- Thoroughly wash all instruments in running water. Shut off the water and open and shut hinged tools like scissors and hemostats as you wash them to clean the hinge regions as well.
- Use a clean towel to completely dry the instruments. Corrosion and water spot development are reduced as a result. A spray lubricant may be used on the instrument’s hinges to enhance its performance.
Soaking Process
As a last resort, a detergent that stops corrosion can be used to clean big, not-very-delicate things. It’s best to rinse and dry your hands after soaking.
Sterilisation Process
Autoclavation
- Hemostats, needle grips, and self-retaining retractor handles should be lubricated. Use a surgical lubricant. Other lubricants shouldn’t be used.
- Individual instruments may be autoclaved, or whole sets can be autoclaved.
- Instruments can be stored in paper or plastic bags. Use a 4-inch pouch for ratchet-locked needle holders and hemostats.
- Using an open stance, sanitise all tools. Heavy instruments should be placed on the set’s bottom.
- When using an autoclave, don’t lock it. This method stops metal-to-metal sterilisation. Thermal expansion during autoclaving can cause hinge cracks.
- Overcrowding the autoclave chamber may also prevent steam from penetrating.
- Put a cloth in the pan to absorb moisture during autoclaving.
- As directed, run the autoclave’s dry cycle. Autoclaves left open while drying will experience condensation on instruments. This will result in wet instruments and packs.
The Cold Sterilisation Process
Surgical instruments Sialkot may be cleaned better after 20 minutes in an autoclave, but most cold sterilisation solutions require 10 hours of immersion. Cold sterilisation can be used to disinfect instruments. It takes 10 minutes. Autoclaving ensures the tools are sterile. Benzyl ammonium chloride can damage tungsten carbide needles, scissors, and tissue forceps.
Storing Process
Before being put to use, instruments need to be put away in a location that is not only dry but also organised and free of moisture.
Handling Process
Even though stainless steel is corrosion-resistant, improper handling can cause rust or staining. Remove the discolouration to see if it’s rust or a stain. If the metal has pits, it’s likely corroded. If the stain is removed, the discolouration is a mark.


